How to Harvest Worm Castings
My posts may contain affiliate links. If you purchase something from one of our links we may earn a small commission, doesn’t cost you any more but helps us to bring you more great tips, recipes and garden ideas. Also, as an Amazon Associate, I earn from qualifying purchases.
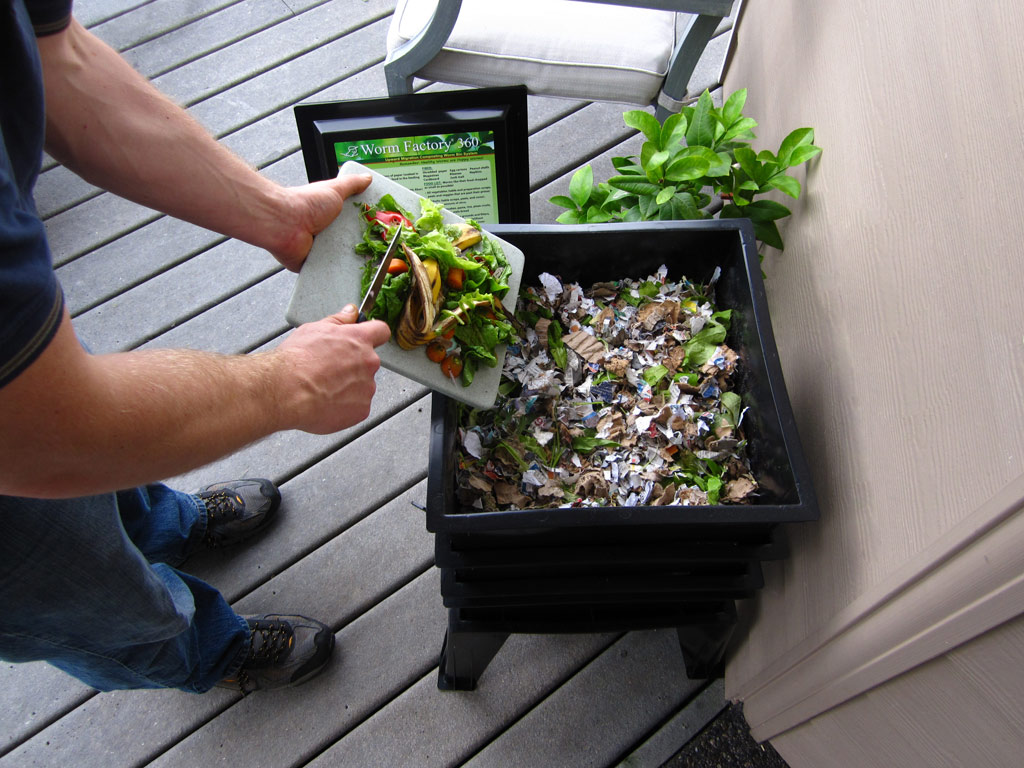
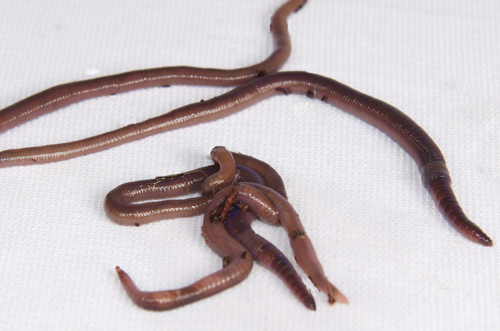
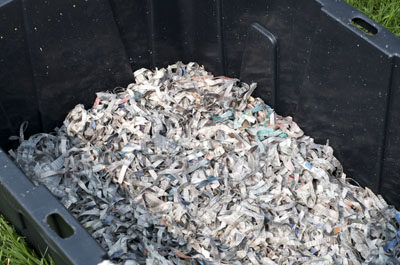
Your worms are cozy, happy and well fed. That means that your bins are filling up with black gold AKA Earthworm Castings.
Here are a couple of ways to harvest worm castings from your worm bin.
Dump and Sort Method – Worms don’t like light!
- Lay out a piece of plastic, tarp or old bed sheet in a bright location or use a lamp.
- Dump bin onto #1
- Create many cone shaped piles
- Shine light onto cone shaped piles
- Skim off top layer of castings
- Skim off another layer of castings
- Repeat steps #3 and #4 until all you have left at the bottom are worms
The Great Migration Method
- Push all of your castings to one side of your bin
- Fill empty side with new bedding and food
- Wait for it….
- Wait for it………….
- Repeat steps #3 and #4 until all worms have migrated over the new food source.
- This method takes a couple days to a couple weeks depending on your worm herd and the amount of unprocessed food in the old side.
The Flow Through
- Build a Flow Thru Bin or purchase one and follow the instructions. See Worm Bin Construction for DIY instructions. Coming soon!
The Great Shake
- Make a screen to sort out the worms and the castings. 1/4″ screen (hardware cloth) to screen out the worms and food debris.
- Second screening with 1/8″ screen to screen out cocoons and create beautiful castings.