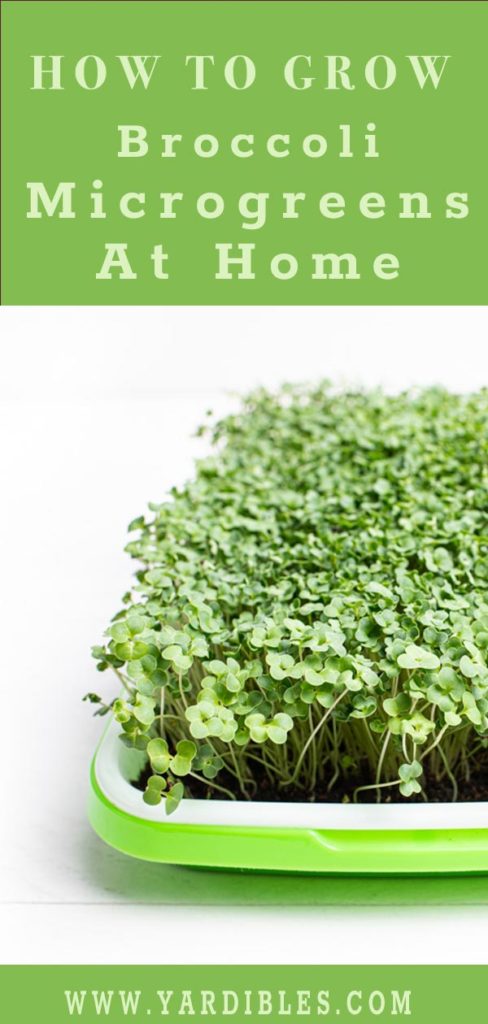
How to Grow Broccoli Microgreens- Benefits & Nutrients
Who doesn’t love the health benefits of broccoli? Now take what you know now about this incredible superfood, and multiply that by 40! That is the amount of nutrition you can get from eating broccoli microgreens. Find out how to Grow Broccoli Microgreens- Benefits & Nutrients. We have also included a complete video tutorial at the end of the post.
My posts may contain affiliate links. If you purchase something from one of our links we may earn a small commission, doesn’t cost you any more but helps us to bring you more great tips, recipes and garden ideas. Also, as an Amazon Associate, I earn from qualifying purchases.
Broccoli Microgreens Benefits & Nutrients
Full-grown broccoli contains antioxidants, fiber, Vitamins A, C, and B-complex, calcium, potassium, and copper. Broccoli also contains a cellular detoxifier- sulforaphane – that can help boost your immune system and fight cancer.
When you grow microgreens, many of the benefits that the full-grown plant contains is intensified in these little sprouts. Microgreens are typically consumed when the plant is only 6-14 days old depending on the variety. All the energy and nutrition that has been stored up in the little seed is released as the seed sprouts and grows.
Sulforaphane in Broccoli Microgreens
Broccoli contains the most sulforaphane in the spouting and microgreen stages of its lifecycle. Why is this important? Sulforaphane can help your body produce it’s own antioxidants and can help fight & prevent many diseases that we know too well in today’s society such as:
- helps decrease blood sugar for diabetics
- helps ward off & fight cancer cells
- benefits your cardiovascular health
- it even assists with anti-aging!
If you do more reasearch yourself, you will find that broccoli has been extensively studied due to its anticancer and antioxidant activities.
I am not a doctor or health care worker so I am not giving any medical advice, so here is a great article that includes all the scientific data about broccoli and sulforaphane if you want to read more: Broccoli or Sulforaphane: Is It the Source or Dose That Matters? & Anticancer Activity of Sulforaphane published by PubMed.gov
| Related Posts: How To Grow Microgreens |
|---|
| What Are Microgreens How To Grow Microgreens at Home |
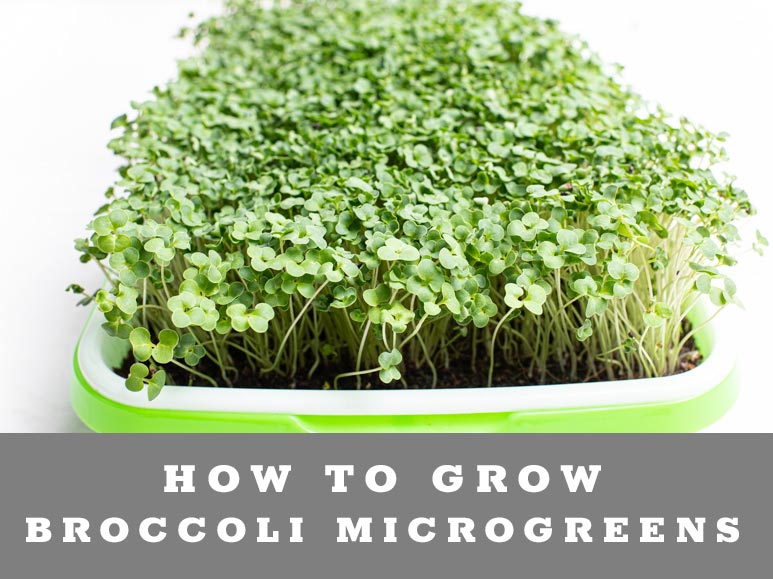
How to Grow Broccoli Microgreens
Broccoli is a very fast grower and can be harvested in just 7-10 days. Being one of the easiest microgreens to grow it can be sown a little more thickly than other seeds which equates to larger harvests.
Microgreens such as broccoli can be grown in soil, soilless mediums, or on special hydroponic mats. There are advantages and disadvantages to each medium. It really depends on your needs and growing conditions on which one you would prefer to use.
The Growing Medium:
This soilless OMRI POTTING SOIL MIX from True Leaf Market contains a great mix of Peat Moss, Coarse Perlite & Dolomitic Limestone, and is a great starter mix to use when you are first learning how to grow microgreens.
They also offer grow mats such as these which are no mess alternatives to using soil-like mediums. Some types of microgeens grow better on these, some seem to do better in a regular potting mix.
Many growers in the microgreen communities are excited to try these new MICRO-MAT HYDROPONIC GROW PADS. They are made from sustainably harvested wood and are compostable which is a huge plus when you grow your microgreens on a weekly basis. I am hoping to try these out soon and let you know what we think. Leave comments below if you have used them and let us know what you think!
True Leaf Market is currently offering Free Shipping on Orders Over $50! so there is no better time to get your microgreen garden started than today.
Microgreen Tray Sizes
Most large growers use what is referred to as 1020 trays (10″ x 20″) for growing their microgreens. You can purchase shallow trays like the ones offered at Bootstrap Farmer, or deeper ones that hold up to 8 of these 5×5 inserts offered from True leaf Market.
We have also have had good luck with these smaller trays that we purchased off of amazon. They are sturdy and great for beginners.
SHEING Seed Sprouter Tray 5 Pack, BPA Free

Broccoli Microgreen Seeding Rates:
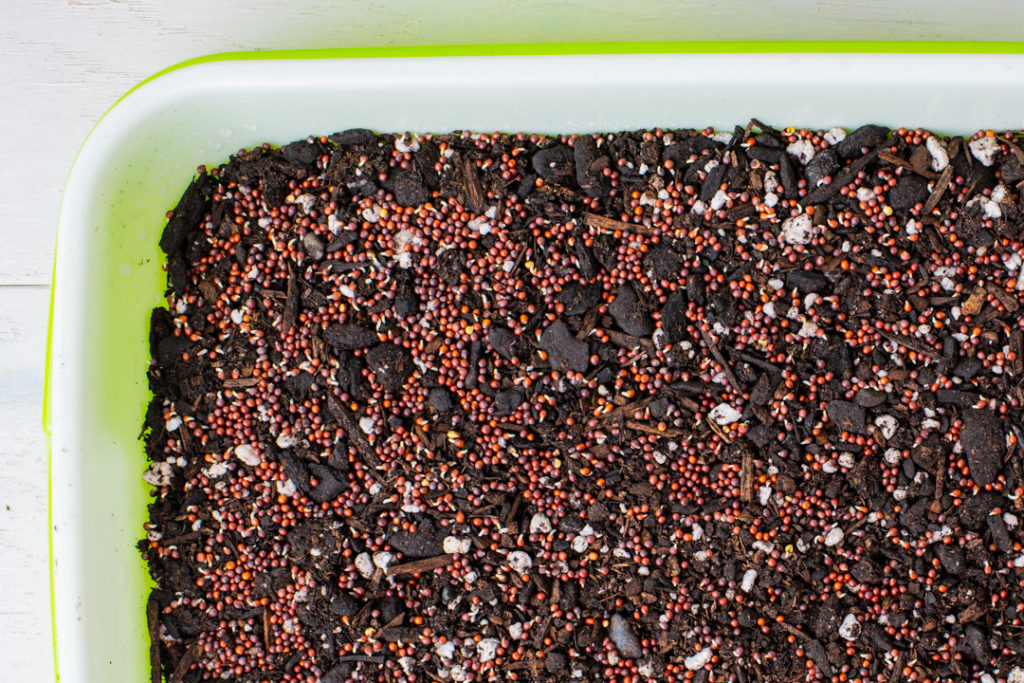
When purchasing seeds, make sure you buy high-quality seeds from a reputable seller like True Leaf Market. Broccoli Microgreens are available in a few different varieties like Calabrese (pictured above), Purple, and Waltham 29.
After you have sanitized and prepared your trays with your growing medium, you can seed your trays. Seed density may vary depending on your location, lighting options, and other growing conditions. The amounts below are a good starting point for growing broccoli microgreens and what works well for us. I suggest starting with a tray or two with these densities, then increase or decrease the amounts slightly until you are happy with the results.
- 1020 Tray: 30grams
- Green Trays: 15 grams
- 5×5 Tray Inserts: 3.75 grams
After you have spread & wet your medium of choice from above, gently spread the seeds into the tray. Make sure the seeds are evenly spaced in the tray and not grouped or stacked on top of one another. Spreading seeds to densely can result in mold issues and/ or smaller leaves on the microgreens since they do not have as much room to grow and spread out.
Broccoli microgreen leaves are fairly small to begin with, so do not panic. Microgreens with larger leaves include the Rambo Radish variety.
Watering Your Microgreen Seeds
Next, you will need to gently mist the seeds and the soil. You want the trays to be wet to the touch, but not drowning in water. Using a spray bottle with filtered water is a great option to use to water your microgreen seeds.
You want to avoid using tap water unless you are on a well. Chemicals such as chlorine that may be present in the water will affect the growth rate on your greens. We use a Reverse Osmosis system which creates beautifully filtered water for our micro garden.
Another thing you should be aware of when watering your microgreens is the PH level of your water. We use a PH meter to monitor the levels of our RO System Water. We have found that we get a pretty consistent level around 6.00. You should try to stay between a PH of 5.5 and 6.5. If your PH is too high, an easy way to lower it is by adding a drop or two at a time of vinegar to your water until you reach the desired levels.
How to Sprout the Broccoli Microgreen Seeds:
The next step will be to place an empty tray on top of the seeded tray. This will create a natural environment for the seeds to grow. It mimics them being planted outside under soil and will create stronger seedlings.
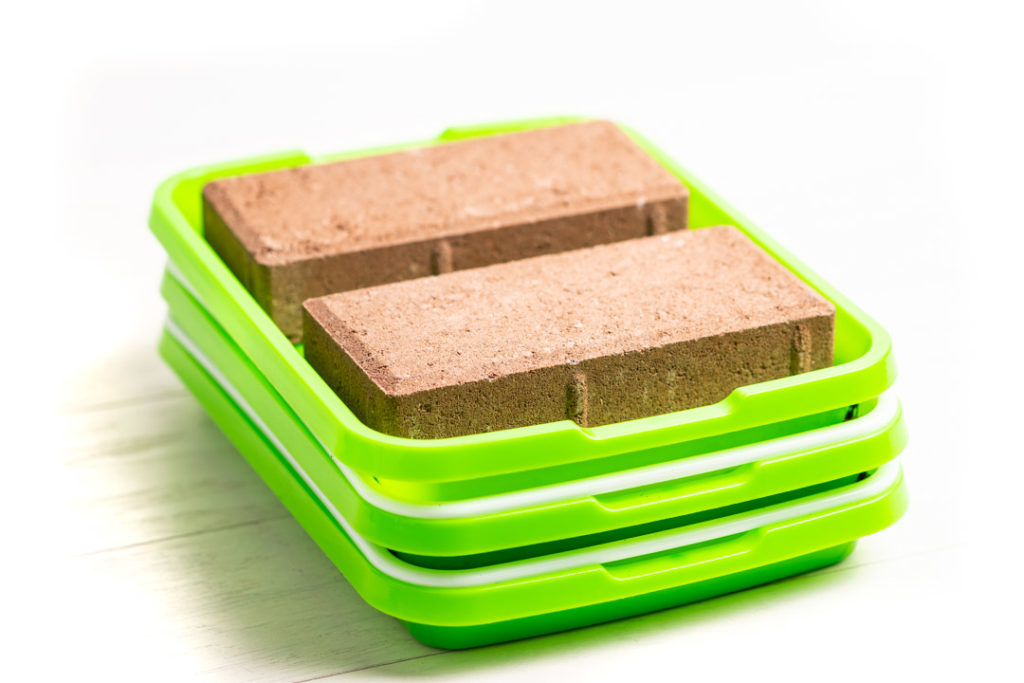
You will then need to find a weight to give the seeds something to press up against as they grow. This will make the sprouts stronger and help to remove the seed hulls. For the green trays, I found that two small bricks fit perfectly in the top tray. Many people also use 15-pound pavers as a weight for the 1020 trays.
You will need to place your tray in a dark area for about 3 days or until the most of the seeds have sprouted. Once they have reached about 1 in tall, you can remove the weight and top empty tray. At this point, you can add water to the bottom tray and let them sit in the dark for another day or two.
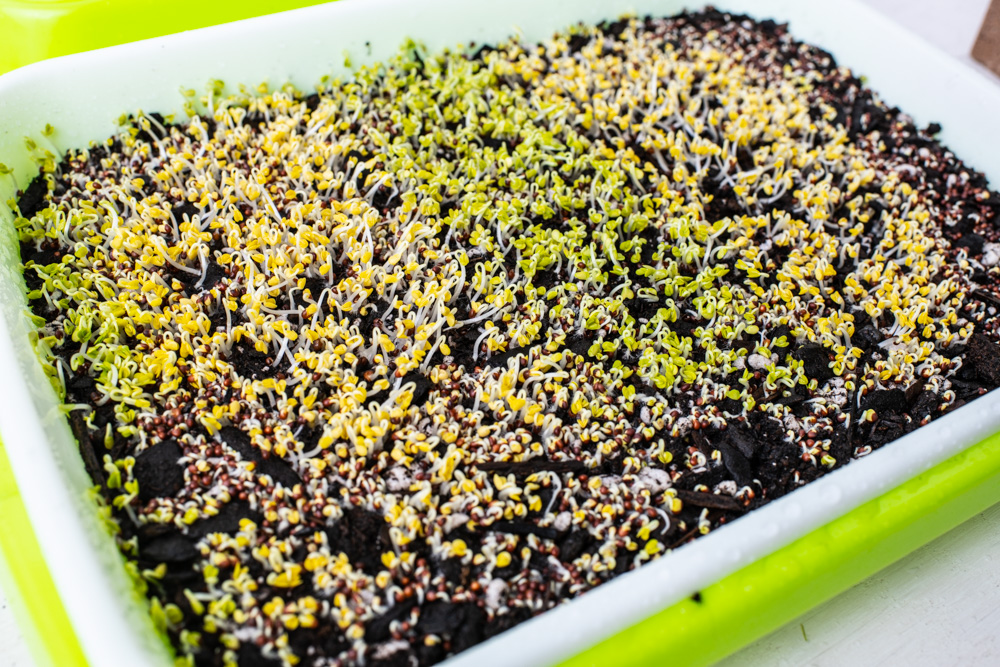
This additional blackout period will force the plants to stretch for a light that is not there, simulating them popping out of the ground. Once they reach about 1-2 inches tall, it is time to move the tray into the light.
Let the Microgreens Grow & Photosynthesize
When they are ready for real light, you can place them under grow lights, or near a bright window. You can almost watch them grow and turn green in front of your eyes. After another 2-3 days, your Broccoli Microgreens will be ready for harvest.
Harvesting your Broccoli Microgreens
You will know when the microgreens are ready to be harvested when you see the true leaves just barely starting to form inside the Cotyledons. The Cotyledons are the first leaves that emerge from the seed. The true leaves are the next set of leaves to appear and the ones that resemble the full-grown leaves of the plant.
The best way to harvest your broccoli microgreens is by using a special microgreens harvesting knife. You can also use scissors to harvest your micros. However, if you are planning on storing your harvest for more than a day or two, it is not recommended. The scissors may bruise the delicate seedlings where they were cut. This damage will result in the microgreens having a shorter shelflife.
How to Store your Broccoli Microgreens
Place your cut broccoli microgreens into a reusable container with a lid. I like to place a paper towel on the bottom of the container to help absorb extra moisture. This will help your micros stay fresh longer. Microgreens can be refrigerated up to a week, sometimes longer depending on the conditions.
Video Instructions: