How to Set up a Worm Bin
My posts may contain affiliate links. If you purchase something from one of our links we may earn a small commission, doesn’t cost you any more but helps us to bring you more great tips, recipes and garden ideas. Also, as an Amazon Associate, I earn from qualifying purchases.
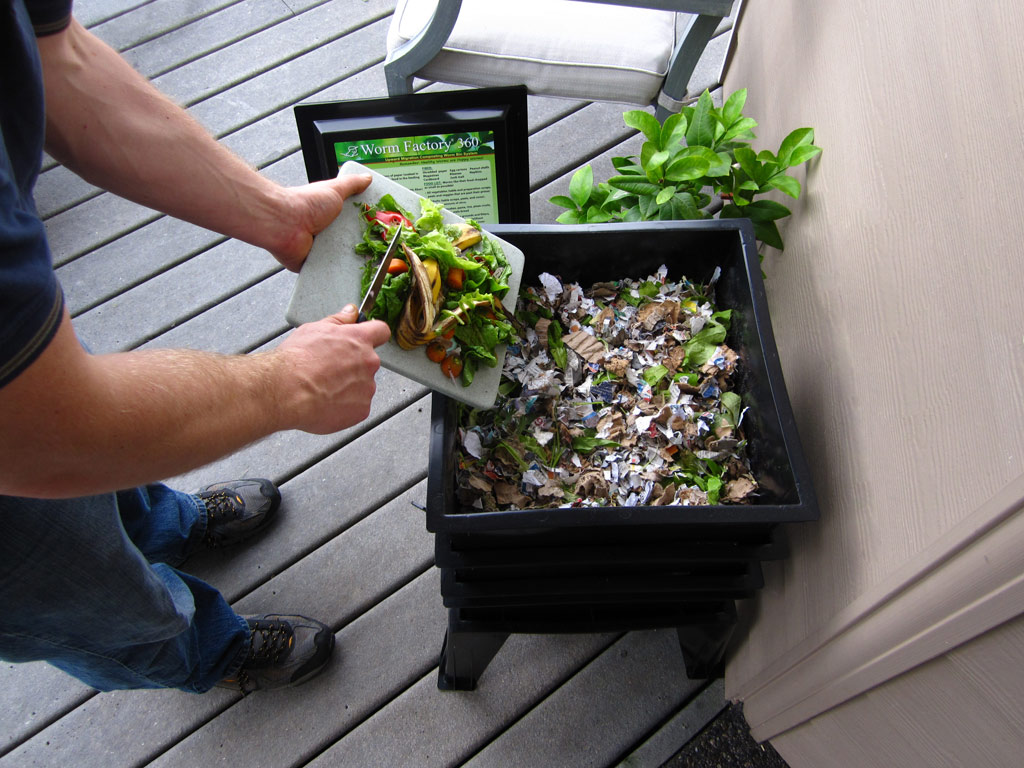
So you bought a worm bin…. now what?
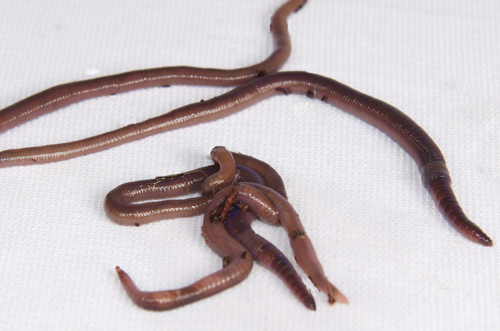
If you need help deciding what kind of composting worms will work best for your system, check out my post: 3 Common Types of Composting Worms
First, you must make their bed!
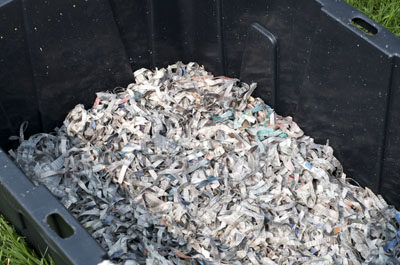
Once you purchase or make your Worm Bins you will need to supply the worms with bedding in which they can hide in and eventually consume. The easiest and most popular form of bedding is cardboard, and newspaper (minus the glossy ads and printed with soy based ink, which most papers use today). Another great way to recycle your household waste.
An alternative to using paper is Coconut Coir . The worms love it and it helps to create fluffier worm castings.
The best way I have found to add bedding to the bin is to tear the newspaper and cardboard into 2-3″ strips and separate out the pieces into a bucket or large bin. Fill the bucket with water to soak the paper. Take a handful of the soaked paper and squeeze it until it is as moist as a wrung out sponge. Add the moistened material to the bin until the bedding is 6-9″ deep (depending on the type of worm bin you are using).
An alternative to soaking the paper is to fill the bin with the dry paper and use a BPA free spray bottle to moisten the material. Red Wigglers like their bedding to be moist like a wet sponge. Not dripping wet, and not dry. I am confident that you can find that happy medium for them.
Be Free!
One important thing to remember is to make sure you have the bin set up before you receive the worms. If you received your worms through the mail, they will have been cooped up in a tiny box for 3-5 days and would be very happy to have the chance to stretch their bodies (since they obviously don’t have legs).
Where to place the bin?
It is important to place the bin in a shady area like a garage, porch or kitchen. Red Wigglers thrive between 55-77 degrees. Once you get your new pets delivered to you safely you can place them into the bin. Since worms do not like light they will wiggle their way down through the bedding you supplied them.
Let there be light!
It is recommended to place a light/lamp above the worm bin for 24-48 hours after you add your worms. This will help to train your new found friends to stay in the bin and not try to escape.
What about food?
You will not need to feed them while they adjust to the bin. If you feel bad about that, you can add a small handful of soft food in the opposite corner of the bin. The worms will also feed on the newspaper and coconut coir so they will not starve.
After this initial period of light your worms will realize they are better off under the bedding than wandering around. You may see 1-5 worms on occasion find their way up the sides of the bin. But don’t worry. As long as you take good care of them they will not try to go any further.
Next check out our article on Feeding Your Red Wigglers.